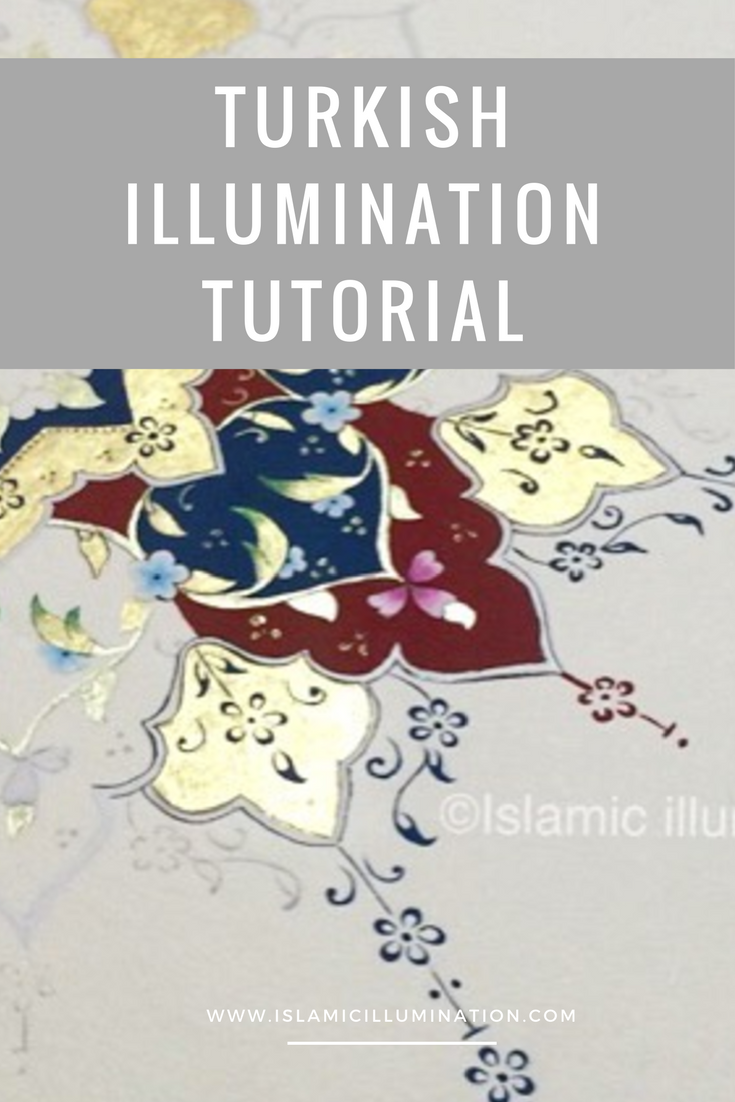
Turkish Illumination Tutorial Tezhip
My first time I learnt about Islamic illumination was in the Prince's School of Traditional Arts in London. I learnt Persian illumination and loved it! You can read my full detailed tutorial here. My love for illumination grew and I decided to do another course this time in Istanbul! I was already there for the Art of Islamic Patterns for an Art trip in Istanbul.
I was very fortunate to do an intensive illumination course with the very talented Turkish illuminator Dilara Yarci. In the course we focused on the order of making the design and the painting techniques. I really enjoy spreading the knowledge, so the steps and the techniques I learnt are below.
Step 1: Getting the design on the paper
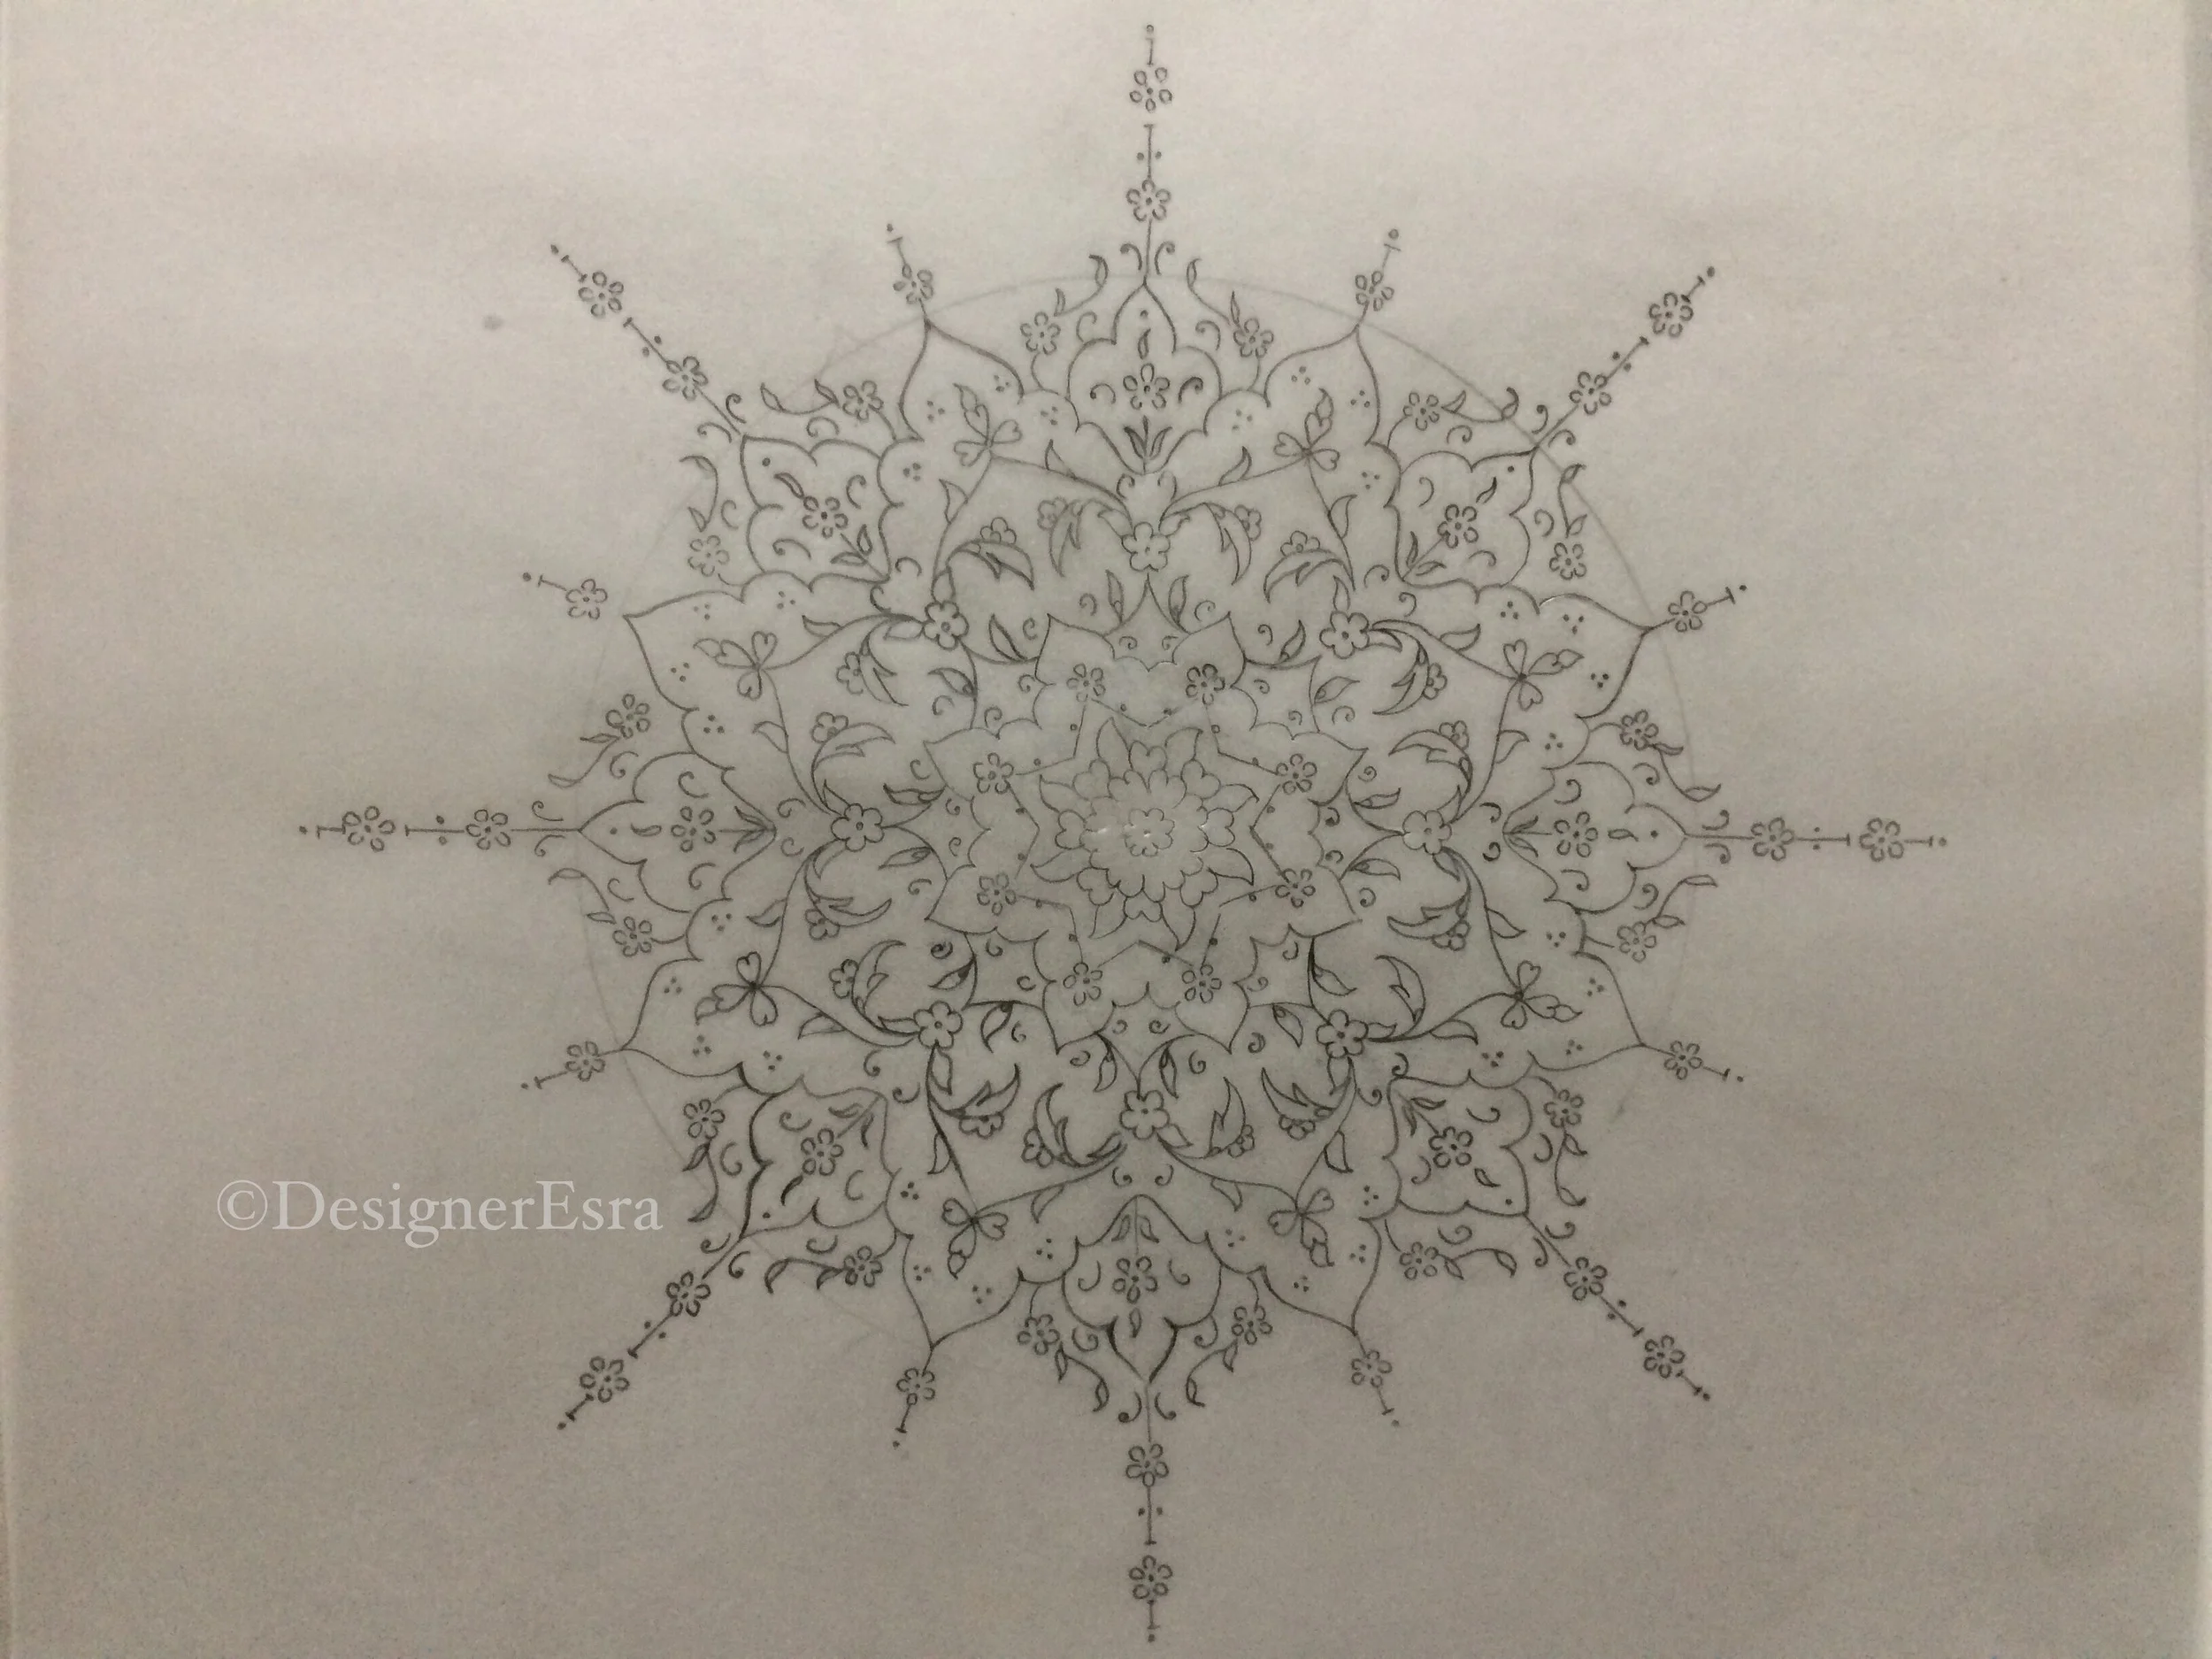
We composed a design based on previous practice, but any design could be traced from Turkish illumination books. After having a design on tracing paper in HB, B1 pencil, we flipped the tracing and placed it on our final paper and traced it again. It is a good practice for the lines. I would advice you to use a darker coloured paper because the flowers will be in white later on


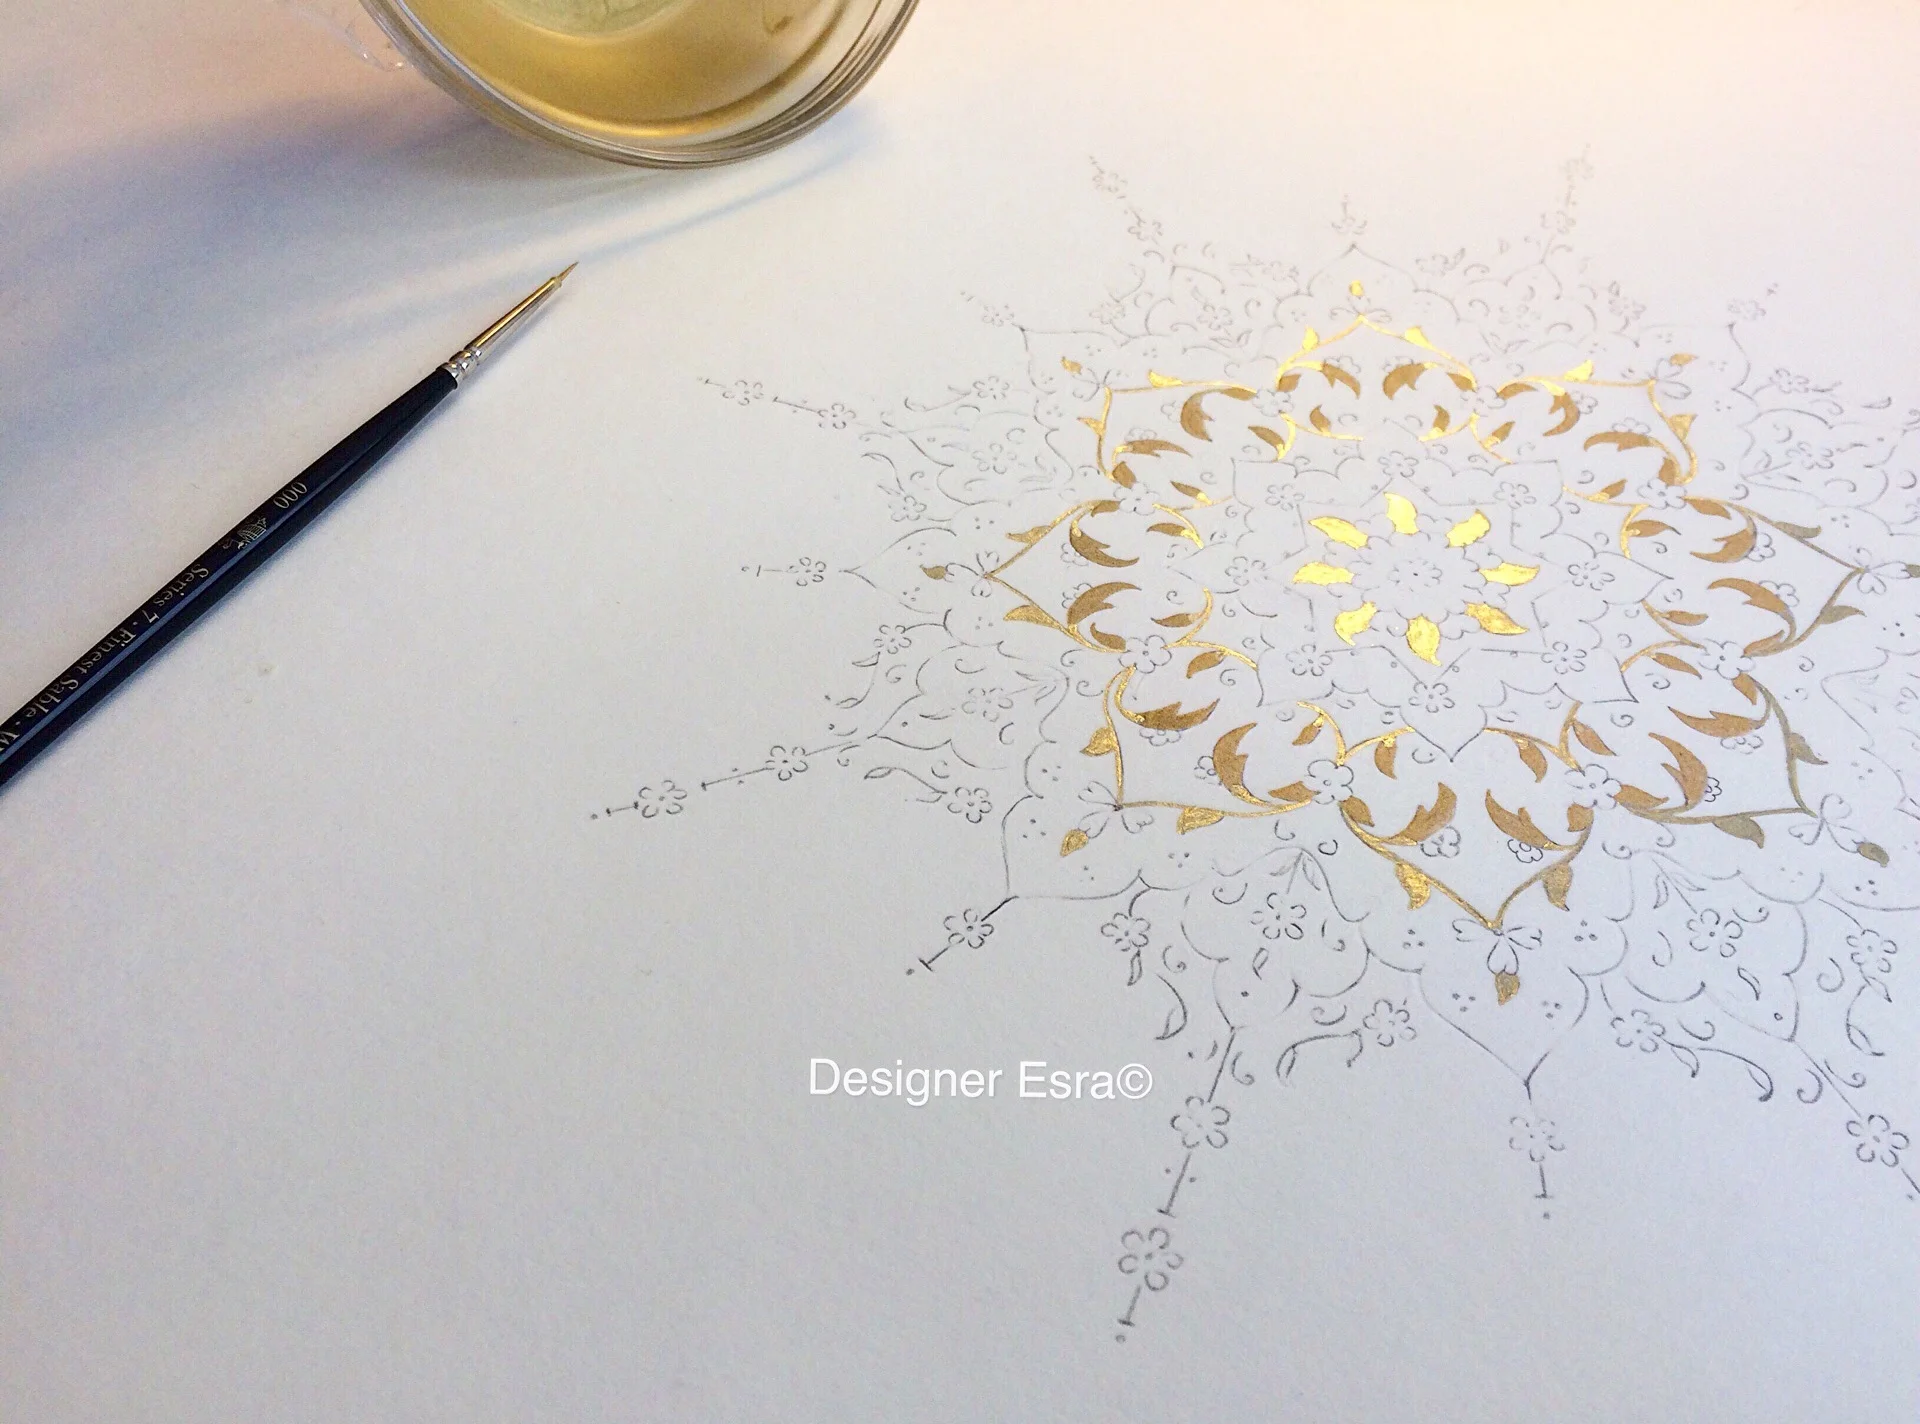
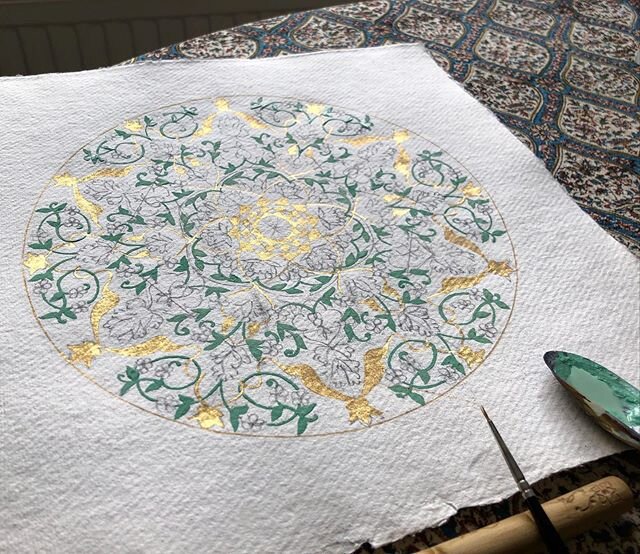
Step 2: Painting the branches and leaves with Gold
The first painting is always done with gold. You can prepare your own gold from gold leaf or just buy ready made gold. The gold is usually for the branches and the floral motifs. After it is applied, you need to use a burnisher for your gold to shine.


This is a quick video with Dilara on the illumination stage.
Step 3: Paint the flowers in white gouache
In Turkish traditional design, the flowers are usually painted in white and then shaded in any colour. When you are painting, pay attention to the form and the shape of the flower. It’s important to keep the correct shape you started with. I also did the main outlines with white for this design.


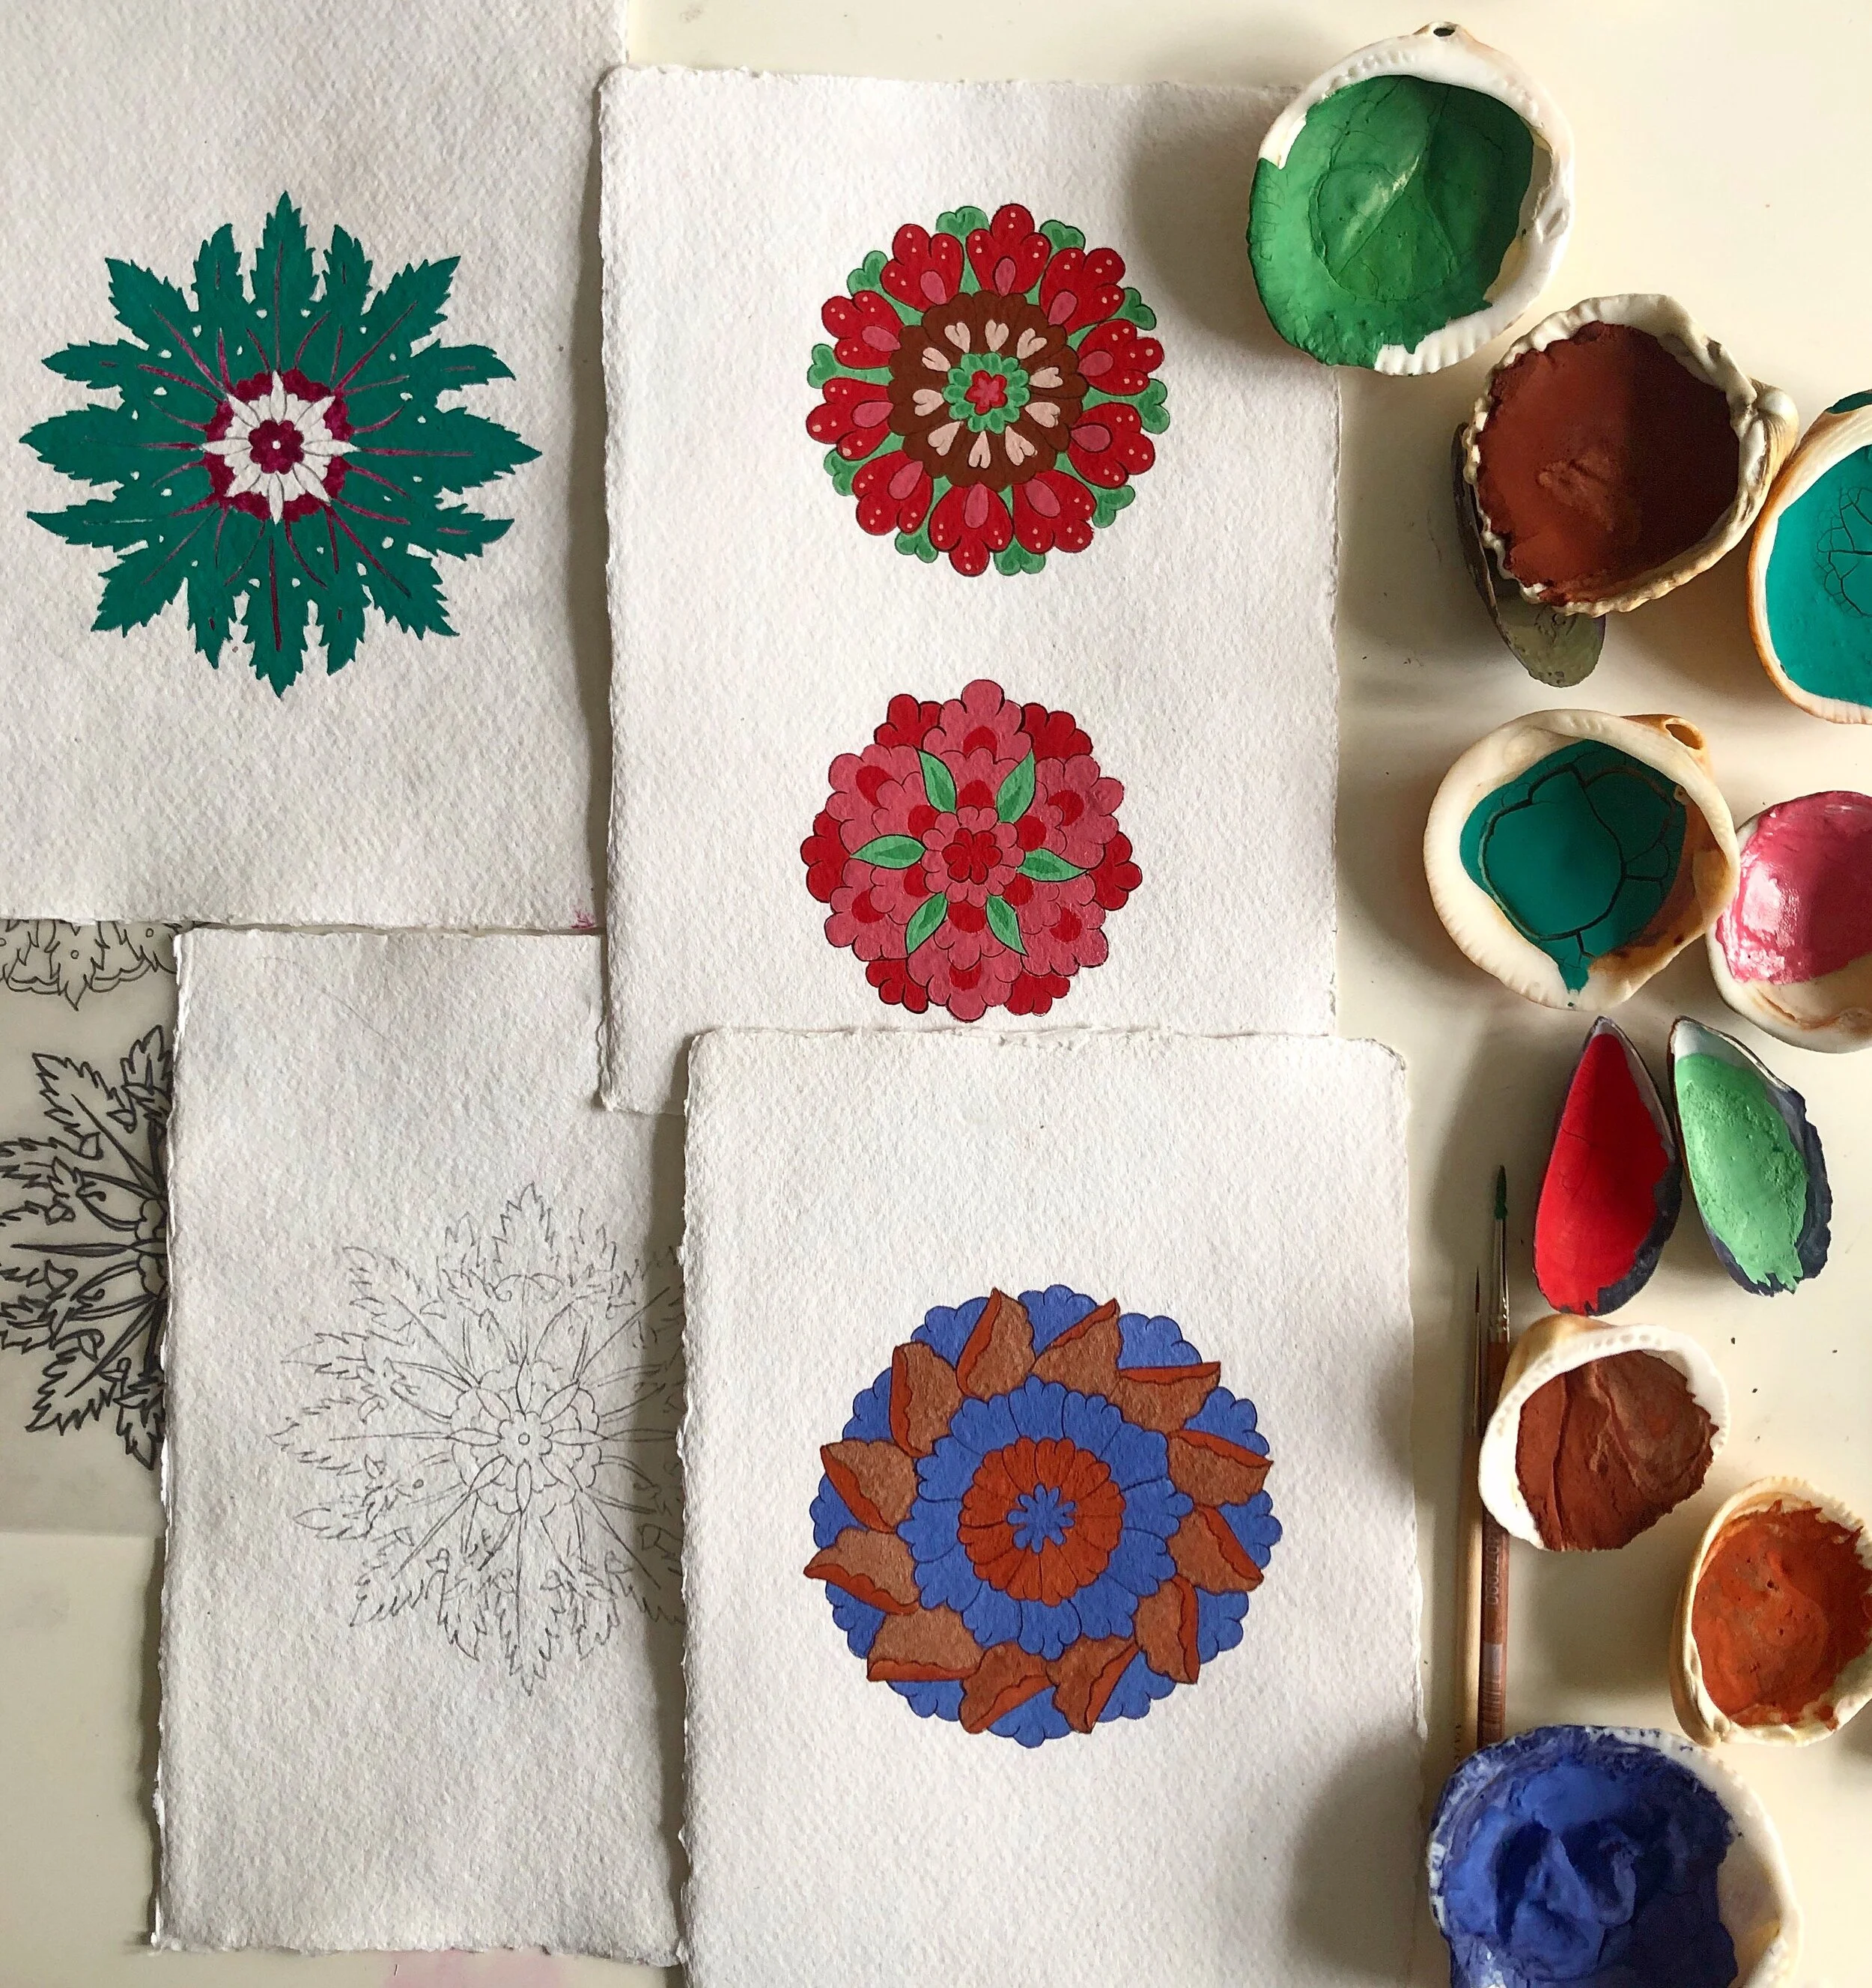
Step 4: Shading the flowers
Shading is usually done on the flowers only in the traditional methods, but my teacher, Dilara, likes shading on gold as well. To shade on gold, just use a little of watercolour on the tips, clean your brush and then move the colour slowly to cover the rest of the golden leaf. To shade the flowers, make three shades of the same colour by adding white paint to it. The lightest shade will be the first layer, after it dries paint the medium shade and after that dries paint the final shade of the dark colour. Use the original colour for the centre.

Step 5: Outline the design in black ink
After painting on the gold and the white and shading the flowers, outline your design with black ink and a very thin brush. For this design I used five zeros. The lines need to be very fine.


Step 6: Paint the background
In most Turkish design, there are empty spaces behind the design and that should be painted to complete the traditional look. You can leave it empty if you like. It will still look charming. The two traditional backgrounds are painted in royal blue and ruby red.

Step 7: adorn with last touches of gold
If there are few spaces in the background that you would like to fill then you can add few touches of golden dots.
Relevant Posts:


![[Pigments & Handmade Watercolour]
The first time I was told about making my own watercolours from pigments, I was confused and thought why would I ever need to do that with such an abundance of choices out there in the shops, but something clicke](https://images.squarespace-cdn.com/content/v1/5723e7f53c44d8676af44a5a/1593364075353-5E6JVA2WRDFXW55RLU86/image-asset.jpeg)
![[Copyrights & watermarks] ⤵️
.
.
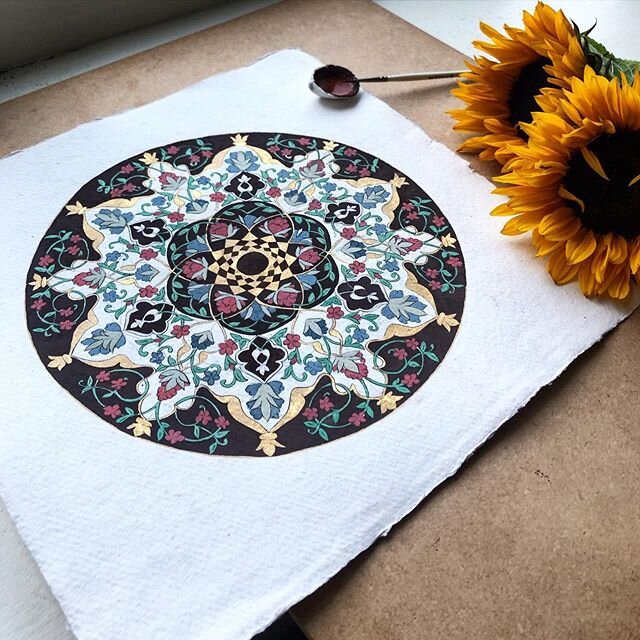
22ct gold added✨ & this lovely brush stand is made from the garden rosewood by @fidget_one 💛🙏🏻
.
.
“You should put a watermark” someone told me, but it’s not the first time I get told &ldq](https://images.squarespace-cdn.com/content/v1/5723e7f53c44d8676af44a5a/1591790274366-15MOG8GA6UAJXTH7SWW9/image-asset.jpeg)