Traditional Islamic Ceramic Tiles

The more I study Islamic art, the more I fall in love with ceramic tiles. A lot of the patterns I replicate and reproduce for my Islamic illumination are found on ceramic tiles of mosque and palaces in Iran, Turkey, Morocco, Spain and Portugal. There are so many styles and techniques to ceramic tiles. The term itself is a big umbrella to tens of variations. This post will focus on traditional Islamic tiles that use a black outline around the biomorphic (vegetal and floral) patterns.
I found an intensive class in the Prince’s School of Traditional Arts, PSTA, teaching “Ceramics from Pakistan” with Ghulam Hyder Daudpota, one of the alumnus of PSTA, and I joined it. I will summaries some of the techniques and the theories I learnt there in this post.

Traditional Islamic Tiles
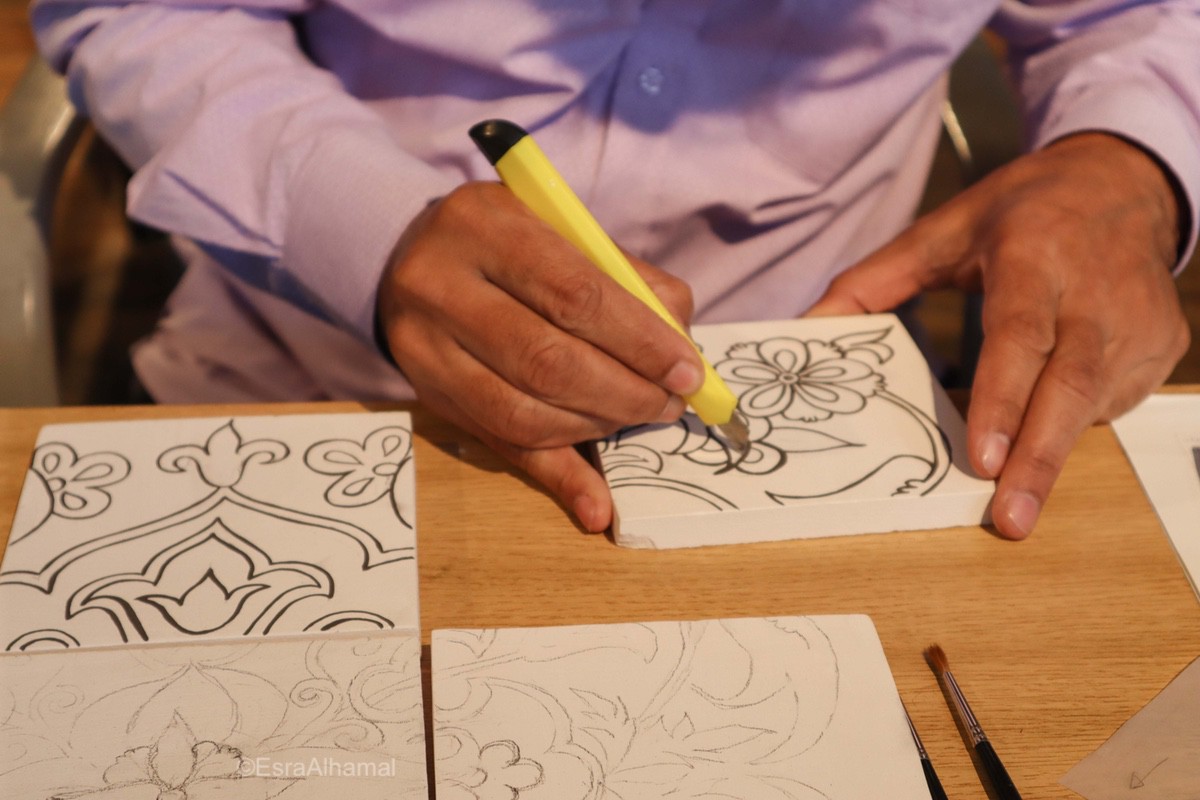
The technique we used in this course to produce classical/ traditional Islamic tiles is seen in historical buildings across Pakistan and Iran. The most popular term that summaries this technique falls under the Spanish term Cuerda Seca. In this technique, you start with using a black outline made of a black colour and a resist.
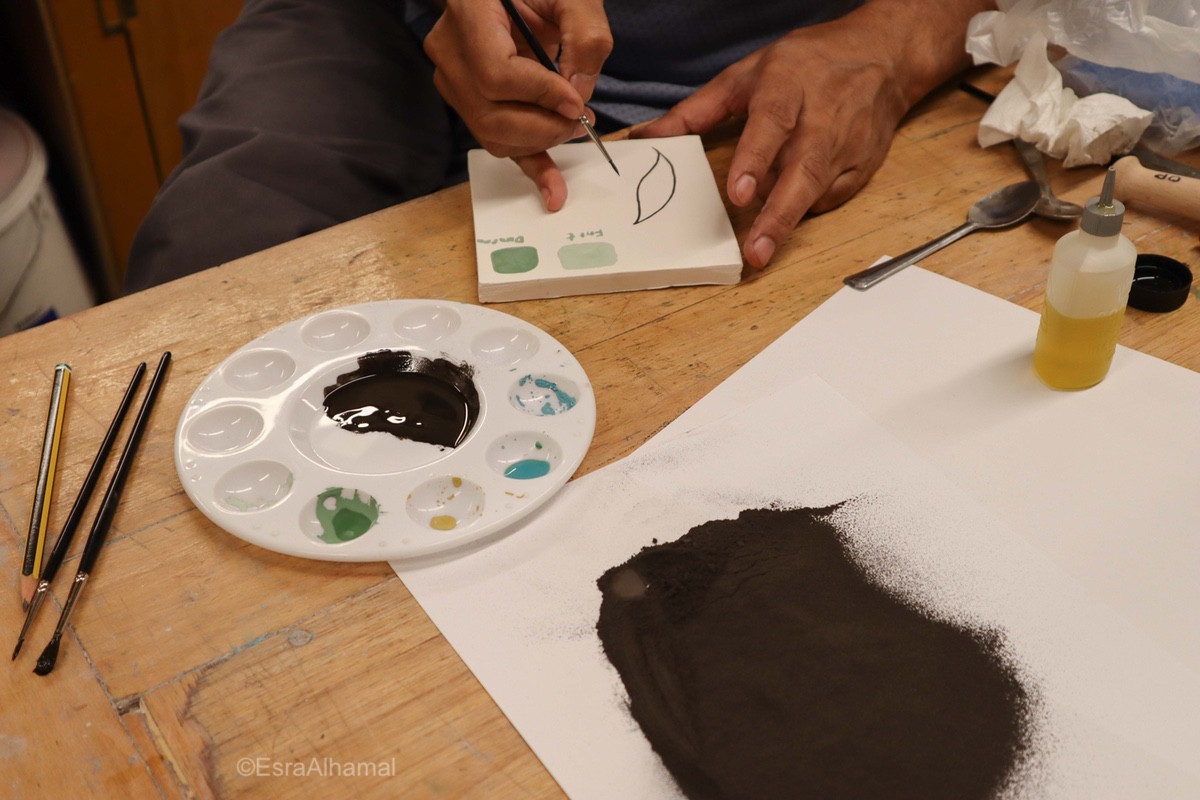

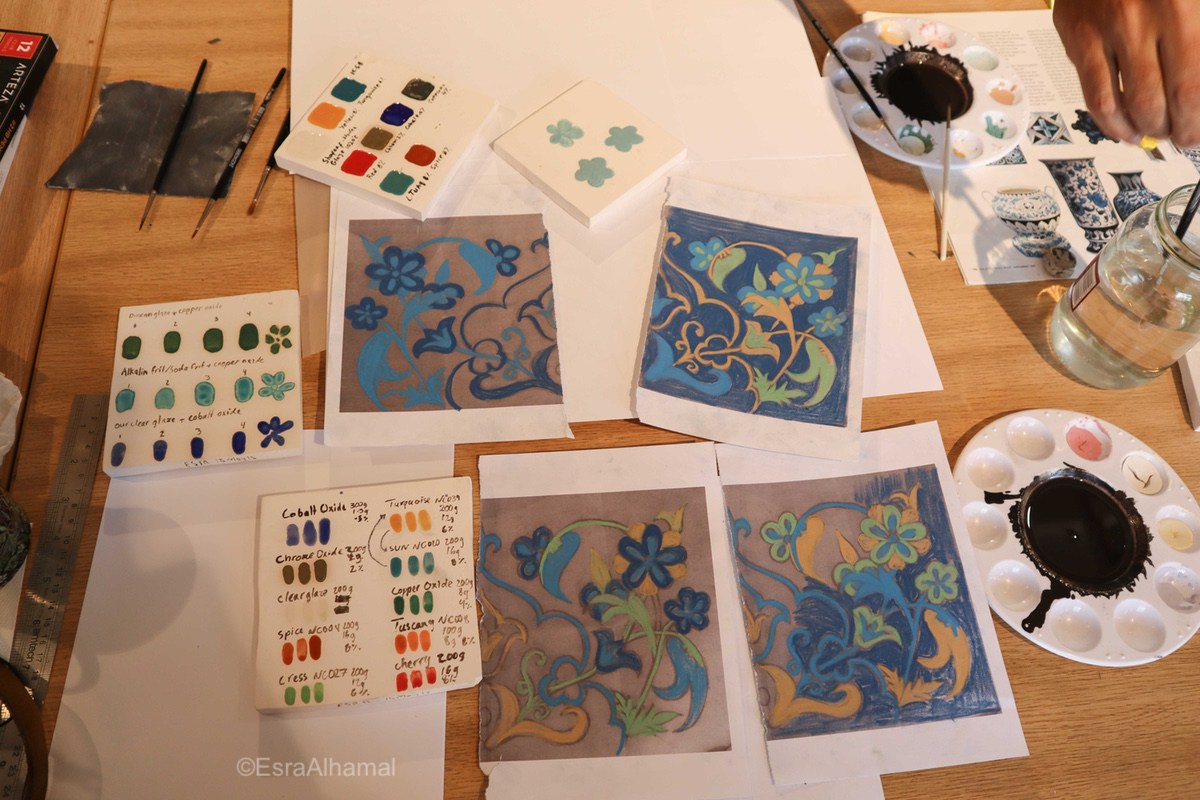
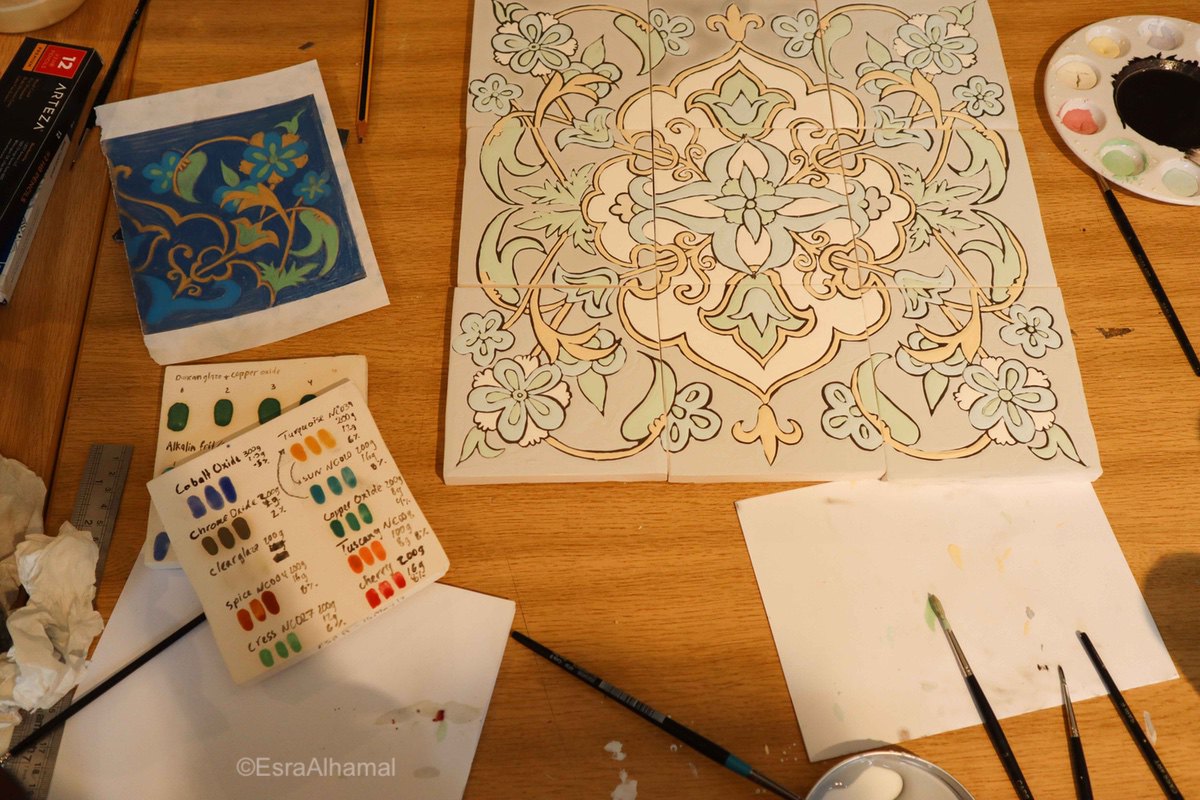
In this class the outline was created from manganese and other ingredients then mixed with olive oil. I cannot disclose the exact recipe because it’s the ownership of the teacher Ghulam Hyder Daudpota, but some glazes books (mentioned below) have similar recipes. We also made our own under glaze base and transparent glaze. All I can say that the process was complicated, but very satisfying.
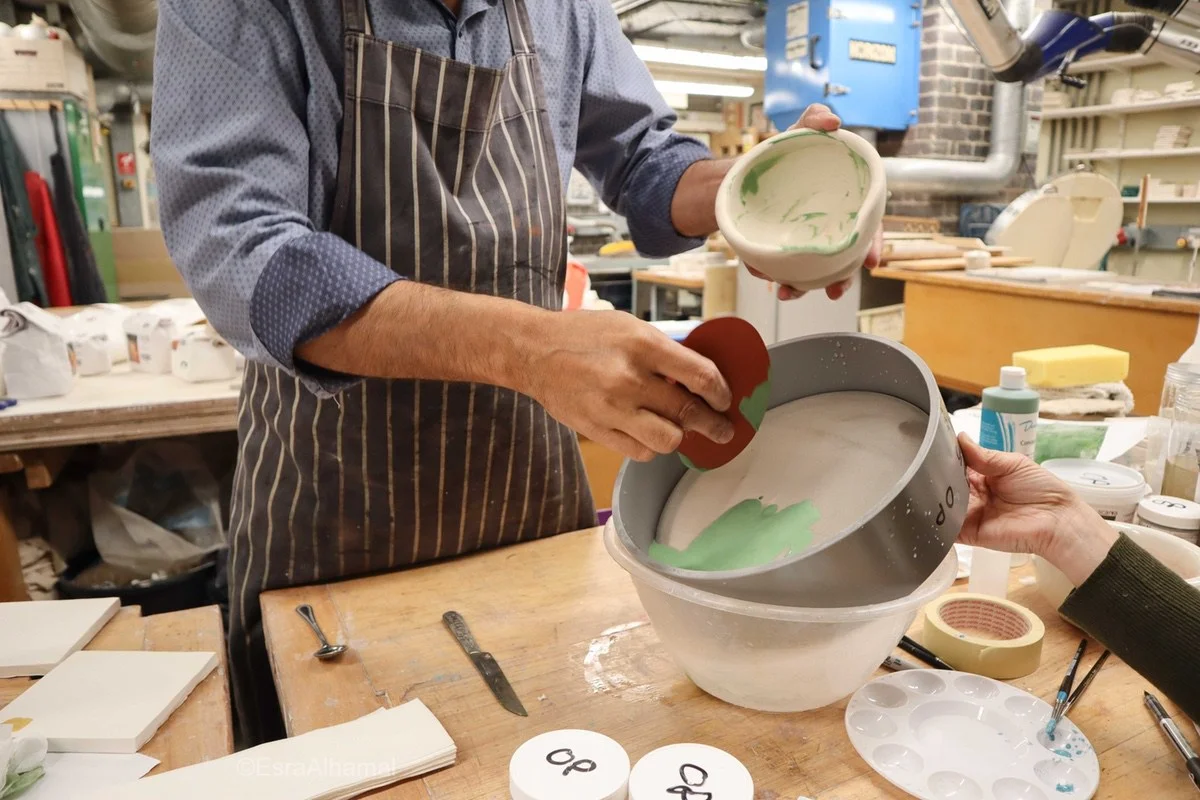
An example of equipments and ingredients that you will have to use if you want to create your own underglaze from scratch:
scale, sieve, pestle & mortar, sponges & Glass jars to store end products


Books with Glaze Recipes:
If you are curious about making your own glazes, it might be useful considering getting one of the books below because they include recipes available to all that can allow you to experiment further.


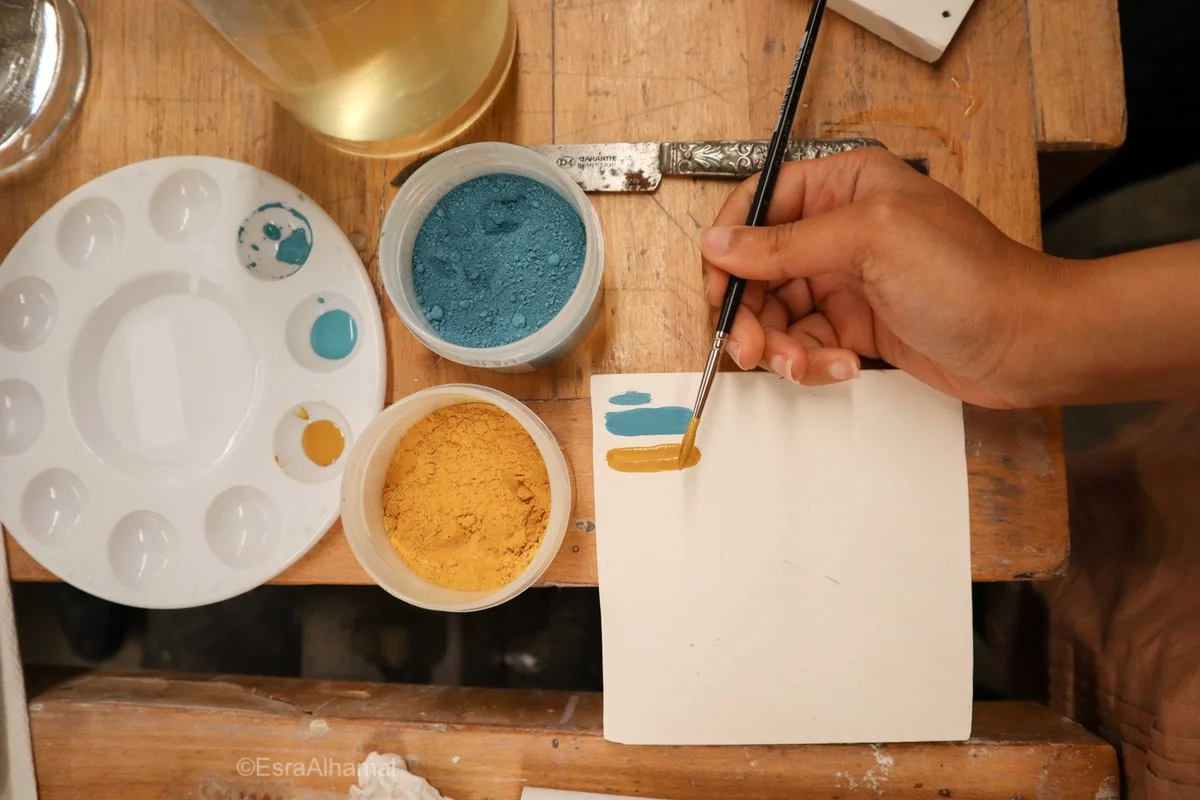
You can of course save your time and start playing with this technique by using ready made colours from brads such as Duncan and Botz.

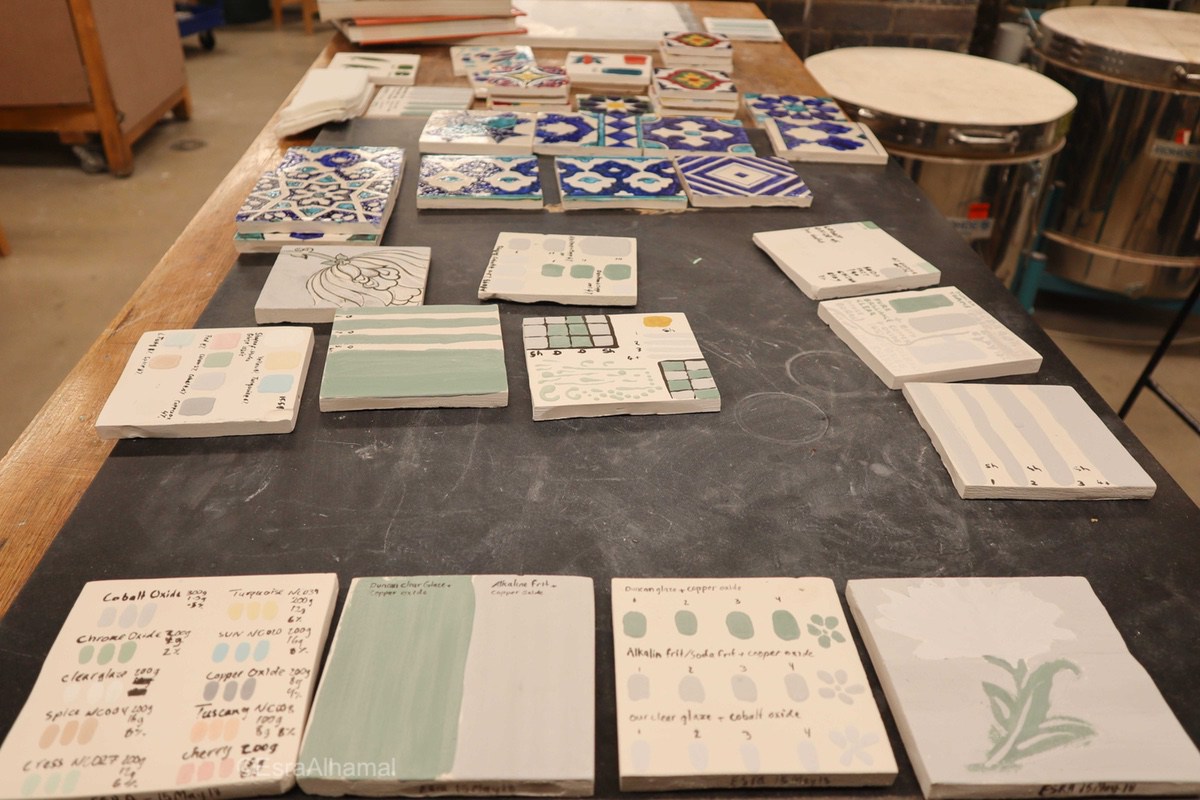
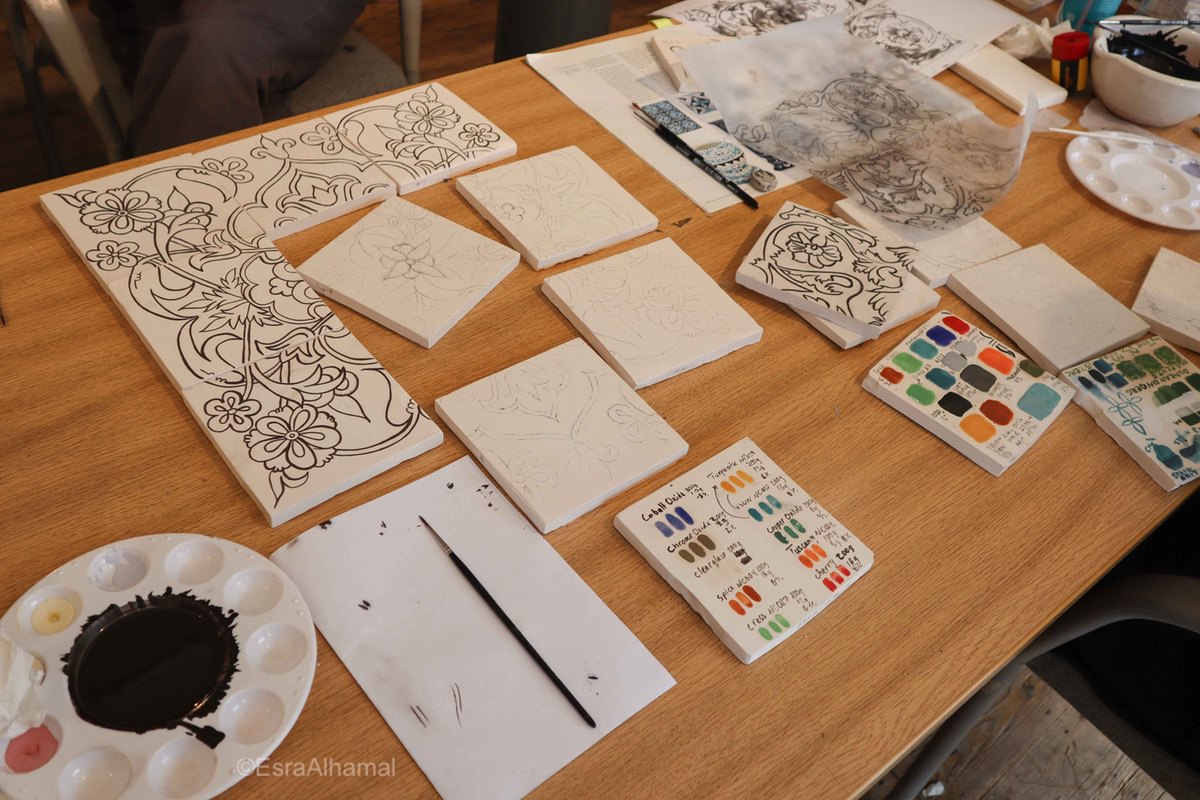
Whether you choose to make your own underglaze or buy it, you will have to test the colours by applying them on a spare tile and firing them. I made a test tile with the names of my paints and it was a great reference through out the tile painting process.
You would need bisque tiles for this type of tiles. Bisque tiles are the clay tiles that were fired once transferring the clay to ceramics. You can of course make your own, but I don’t have any information about that process. There were handmade ones in the class. After the class I just bought ready ones online from Bisque Direct, but they were a little pricey. If you know anyone else that sells good quality bisque tiles in the UK, do let me know in the comments below please.


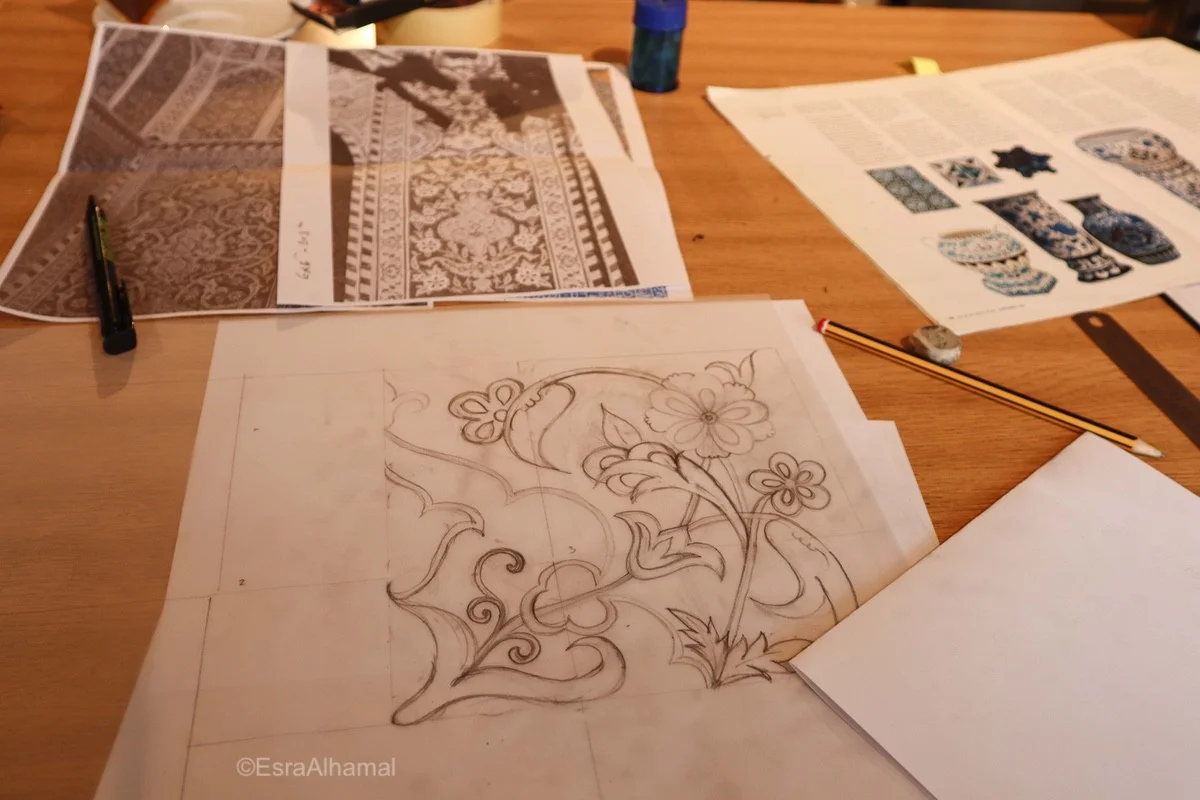
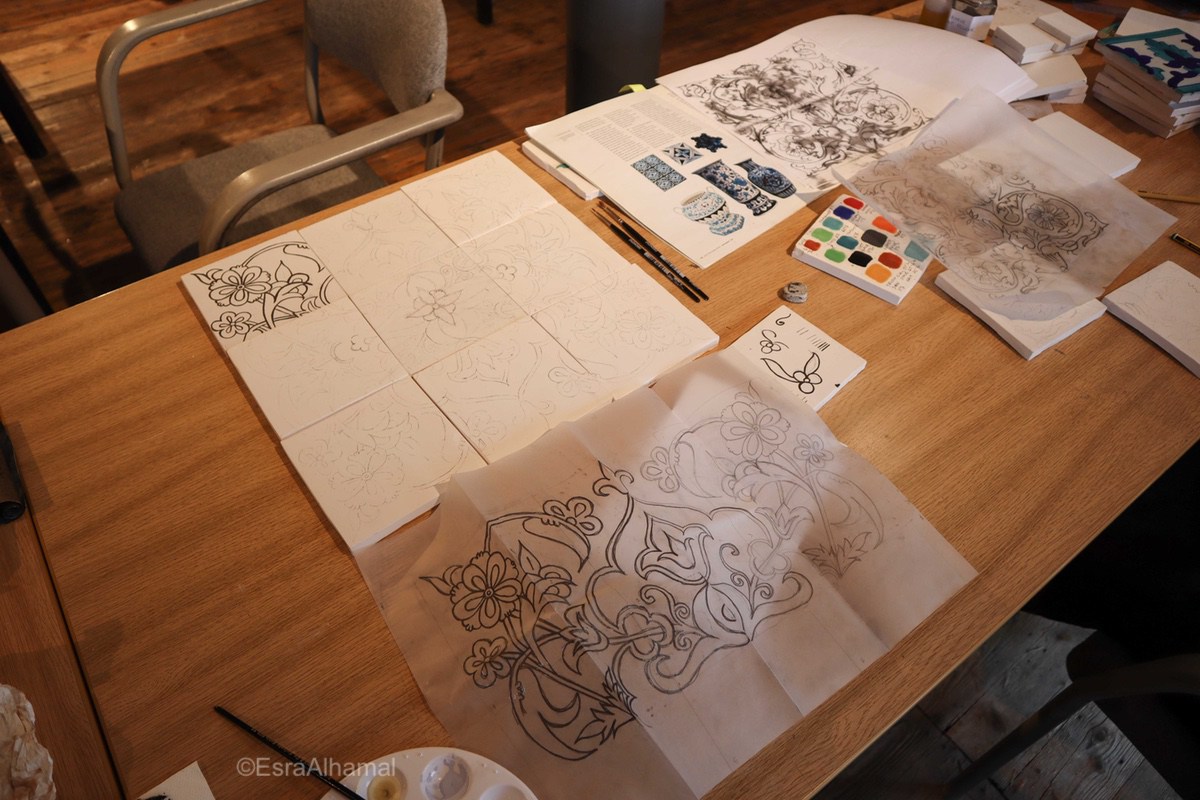
Designs for Classical Islamic Tiles
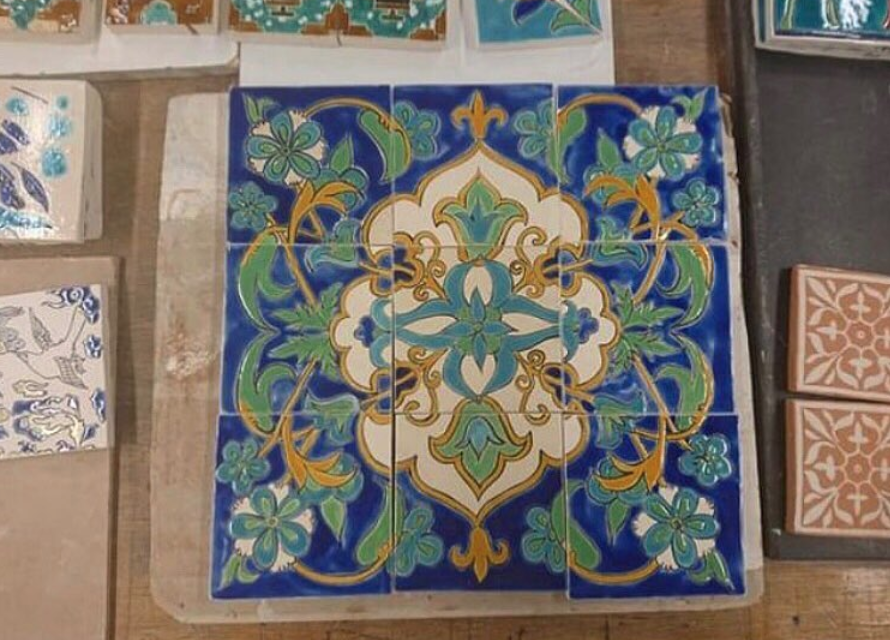
This class didn’t focus much on design and composing our own designs, but my design experience with Islamic Illumination was very handy. I took biomorphic/ vegetal elements from the mosques I photographed in Iran and arranged them like a collage to come up with the design I had. Just like you might have seen with my Illumination process, I only design part of the pattern then I mirror it and repeat it. I did this exactly in here as well. I only designed a quarter of the design, mirrored it and then repeated that half. I used a total of nine tiles to create the panel you see in the image.
Inspiration tile design Books:


How to transfer the design from paper to the ceramic tile?
I drew my design on transparent paper with an HB pencil and then placed that paper pencil side down and traced it again on the bisque tiles with the pencil. You would have to be careful when you are tracing so you don’t rub the pencil marks out. Once the design is traced, you paint the black outline over the pencil mark and fill the spaces with the underglaze ideally with two coats. You can add a clear glaze layer on top of it after it dries. The tiles are fired afterwards on the appropriate underglaze temperature. Then you will have your tiles!
It was a really fun process and I am really excited to try painting more tiles.
Watch snippets of the class below:
Over to you: Have you tried painting your own tiles before? Are you planning on painting some soon?

![[Pigments & Handmade Watercolour]
The first time I was told about making my own watercolours from pigments, I was confused and thought why would I ever need to do that with such an abundance of choices out there in the shops, but something clicke](https://images.squarespace-cdn.com/content/v1/5723e7f53c44d8676af44a5a/1593364075353-5E6JVA2WRDFXW55RLU86/image-asset.jpeg)
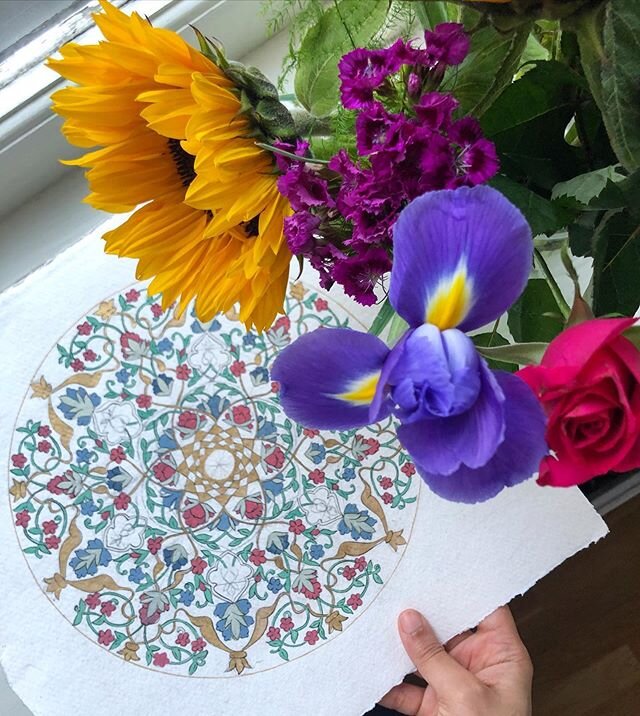
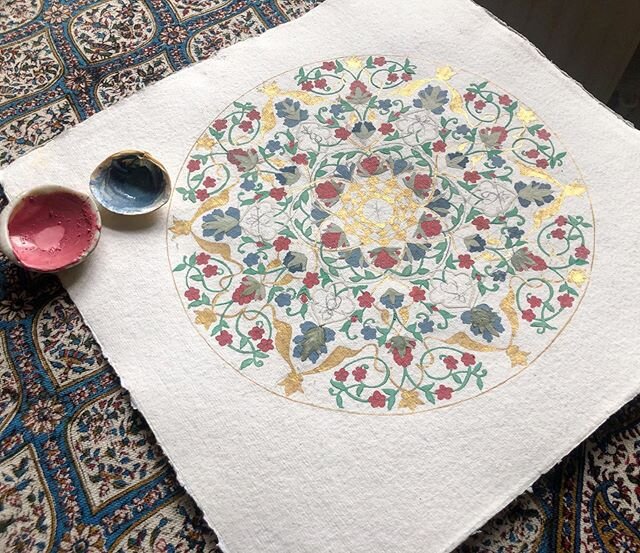
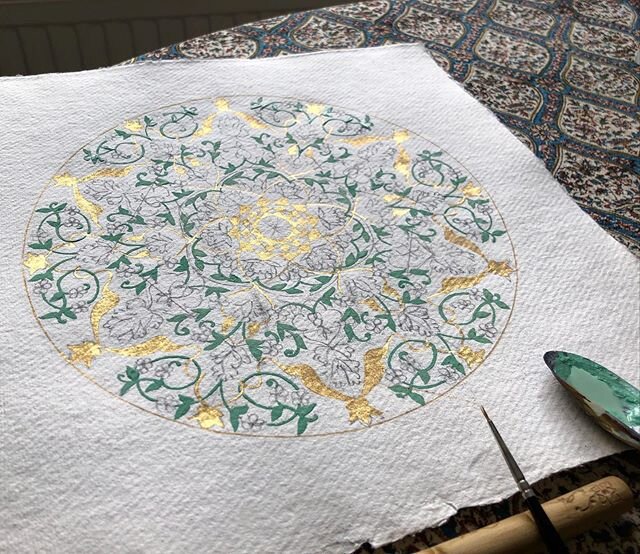
![[Copyrights & watermarks] ⤵️
.
.
22ct gold added✨ & this lovely brush stand is made from the garden rosewood by @fidget_one 💛🙏🏻
.
.
“You should put a watermark” someone told me, but it’s not the first time I get told &ldq](https://images.squarespace-cdn.com/content/v1/5723e7f53c44d8676af44a5a/1591790274366-15MOG8GA6UAJXTH7SWW9/image-asset.jpeg)